*sighs* I really don't want to do this again, but I'm sorry. I didn't mean to abandon you guys. I kept thinking about posting and then putting it off because I was getting way less comments. I didn't like to think about it, but I was losing viewers. I don't really know why. Probably because I wasn't posting enough, but I'll try as hard as I can to bring my viewers back. And for those of you that stayed, thank you. You're what keeps me going.
As you can tell by the title, today we'll be doing a craft. Very simple, I must say. We'll be sewing a doll shirt with side panels. Let's get started!
You will need:
*felt
*chalk
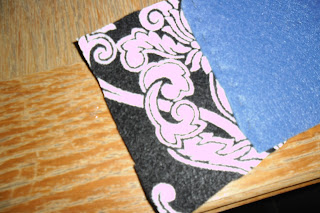
*patterned felt or fabric
*scissors
*a doll to measure
*a needle and thread (not pictured)
Start by folding your felt in half. Lay your doll down on the felt and mark where the neck hole needs to be on the folded edge.
Cut out the hole.
Next, mark how wide you want the shoulder part to be.
Now draw next to the dolls body for the sides. Since we're doing side panels, you don't have to worry about leaving a seam allowance. Mark the arm holes as well, but make those a little bigger than they need to be.
Your shape should look something like this. Cut it out.
If it doesn't fit over your doll's head, then cut a slit in the back. You can sew in velcro or snaps later, but I didn't bother.
 |
| *if any of you are wondering, I changed the felt I was using* |
Cut a panel of the patterned felt big enough to fill the space in the sides with a little extra. Sew it onto one side.
Now fold over the rest of the shirt and sew the other side. Pins are really helpful for this!!
Repeat on the other side and you're done!
I hope you enjoyed! Bye!
~Devin


Super cool!! Just so you know I will never stop checking And commenting!! <3
ReplyDeleteThanks Cadence! You're the best! :) ♥
Delete